


The Scoop
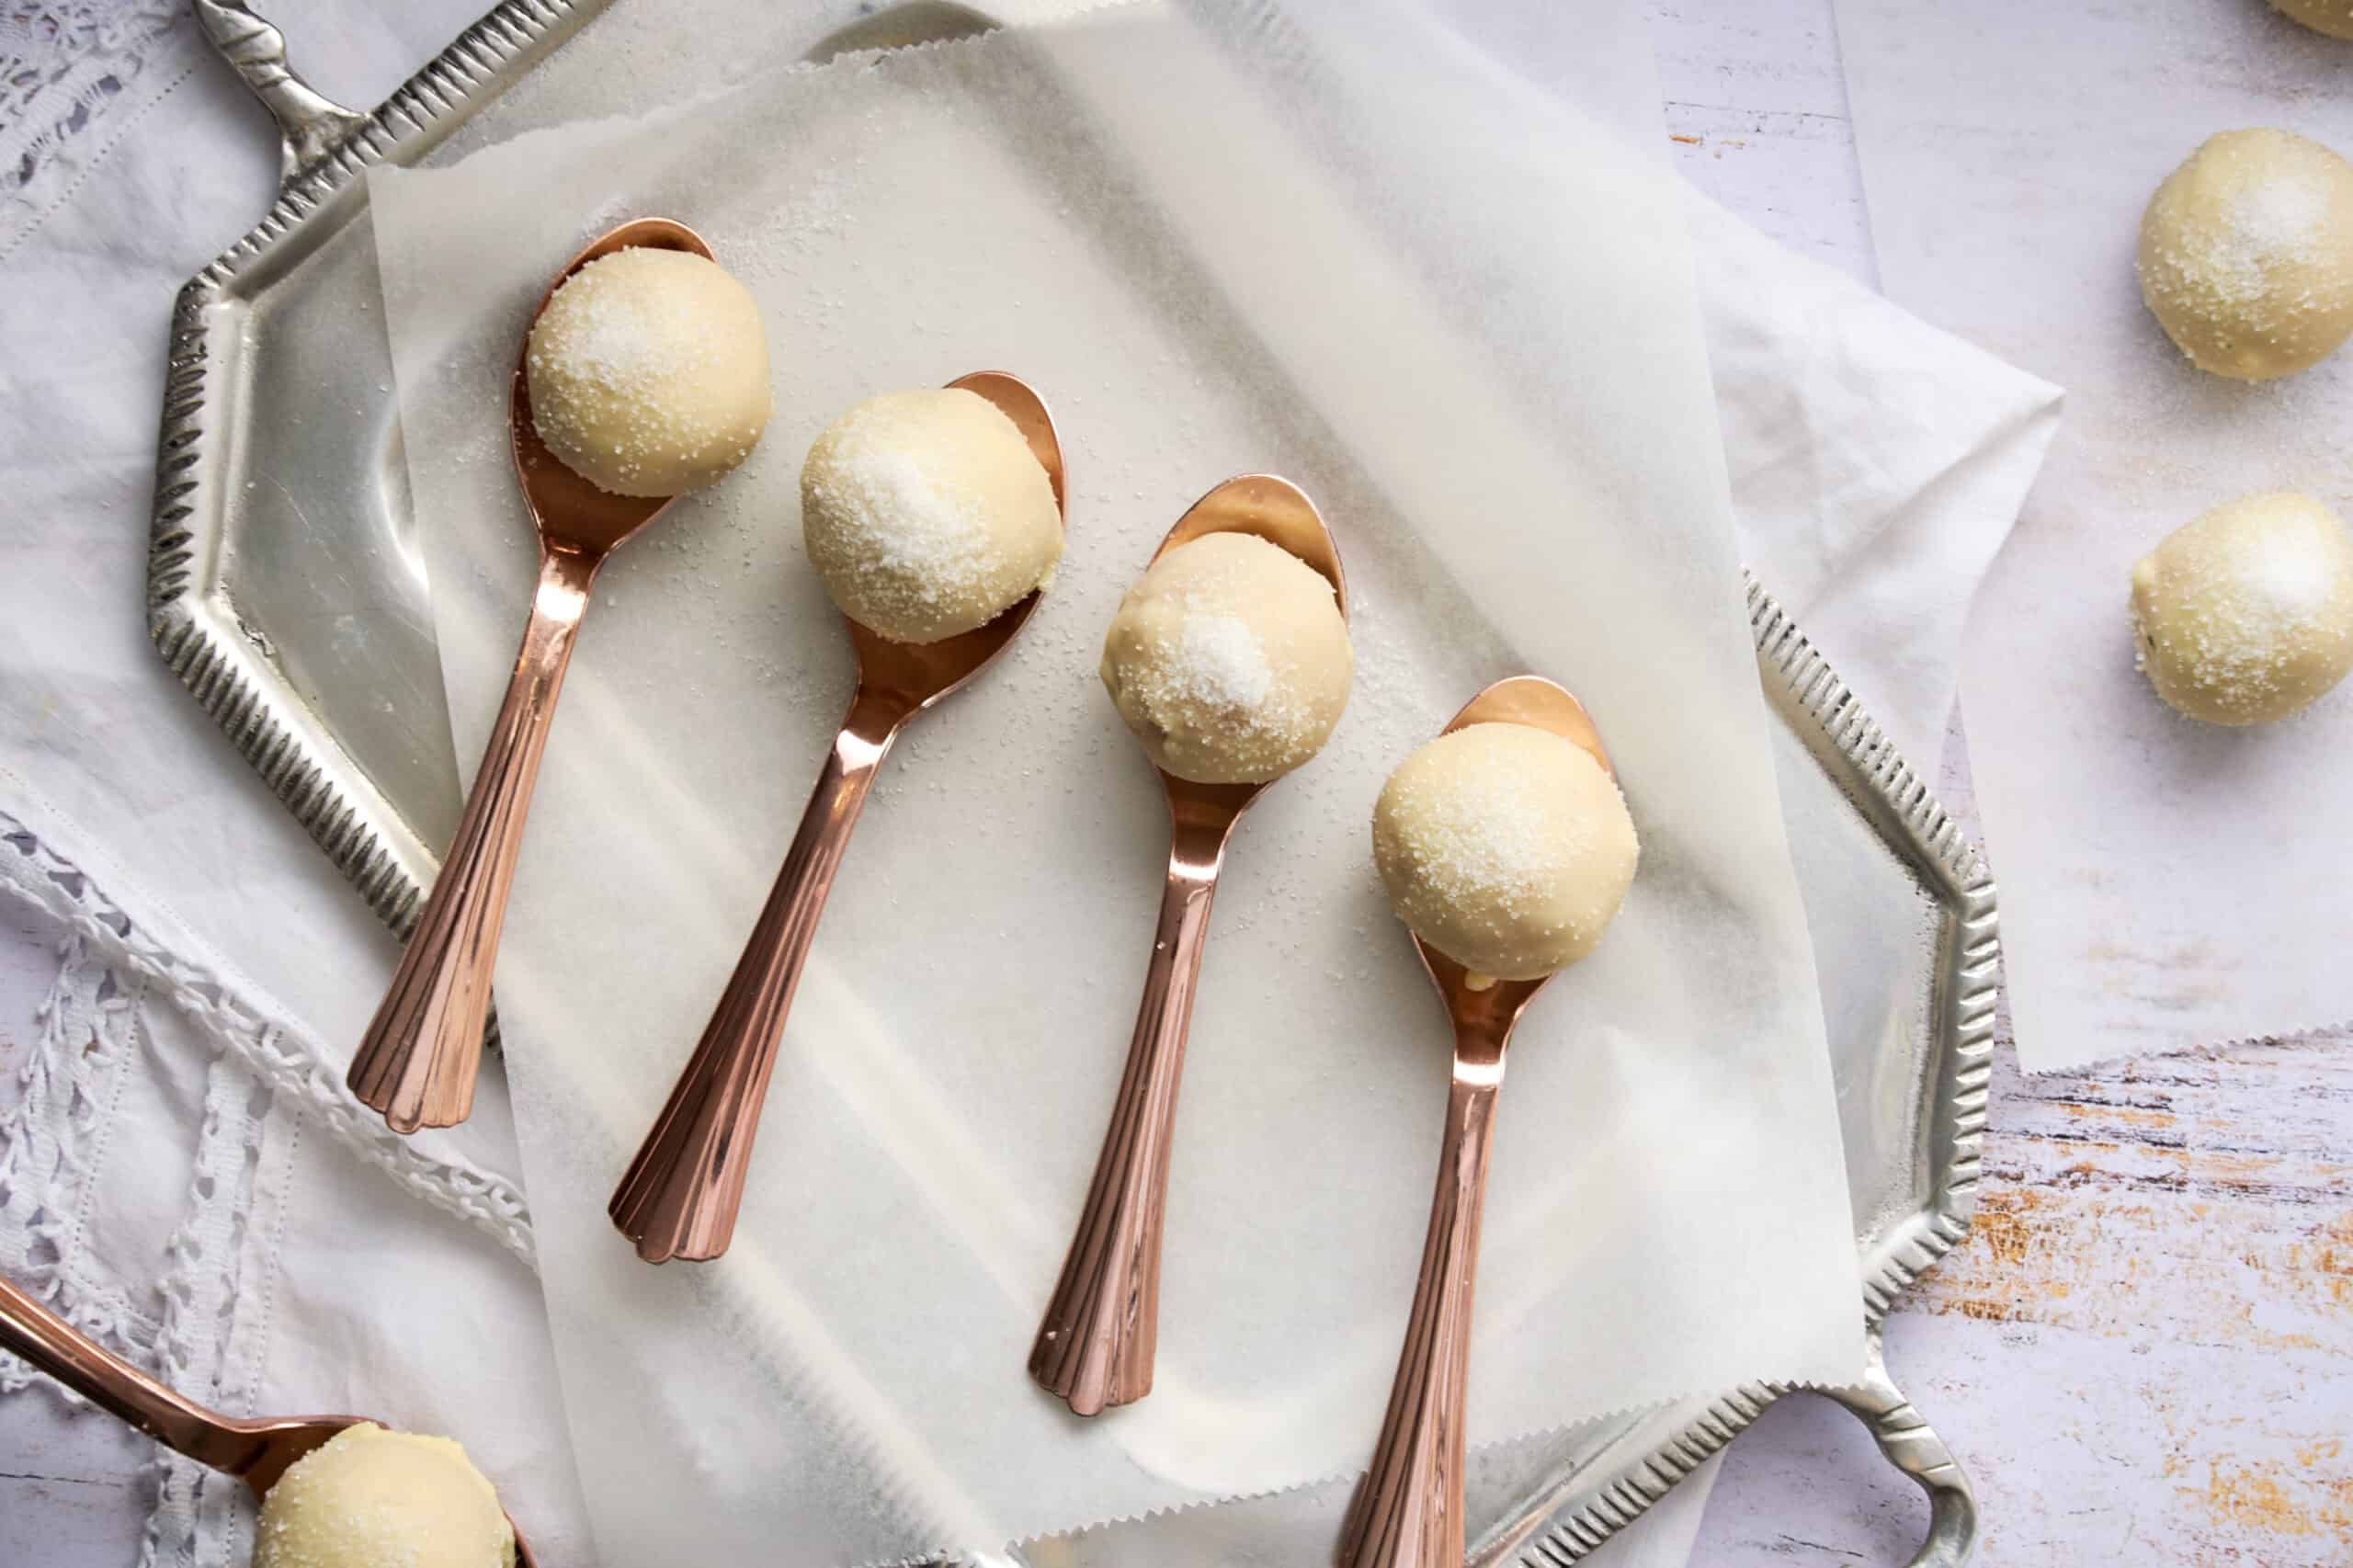
Spoonful-of-Sugar Pops: charming cake pops with playful spoon handles.
A few years back, while preparing for the first family brunch at our new house, I wanted something extra special to charm my notoriously picky niece. With a box of cake mix always lurking in the pantry and leftover vanilla frosting whispering my name, inspiration struck. These Spoonful-of-Sugar Pops were born out of a desire to serve something playful yet delightfully simple. The candy melts and sugar crystals add that touch of sparkle, mimicking the glint in a child's eye when they spot a favorite treat. I discovered that a quick chill in the freezer helps firm up the cake balls, making them much easier to manage.
Each pop, served elegantly on a plastic spoon, seemed so fitting for the occasion. As family mingled and chatted, these subtly sweet pops became a conversation piece, with kids and adults alike reaching for seconds. The spoon acts as an unconventional handle, a quirky twist that keeps fingers clean and makes for easy serving. With every brunch since, these Sugar Pops have made a cheerful appearance, set like tiny treasures on the table, compelling everyone to indulge in at least one.
It occurred to me how these pops encapsulated the very essence of that day—sweet simplicity and shared joy. Watching everyone relish this modest creation was rich in its own right, a reminder that sometimes, less is more.
Ingredients
- 1 box cake mix, plus the ingredients called for on the box
- 1 (16-ounce) container buttercream frosting, not whipped
- white sugar crystals, to taste
- white candy melts, to taste
Directions
- Line two 18x26-inch baking sheets with wax paper, then add the same amount of wax paper to a flat work surface for separate use.
- In a large bowl, prepare the cake mix, according to the package directions.
- Bake the cake, according to the package directions.
- Transfer the cake to a wire rack and let it cool completely.
- Crumble the cake into a large bowl.
- Add the vanilla frosting to the cake crumbles and stir to thoroughly combine.
- Roll the cake mixture, by hand, into small balls, making sure the size of the balls is consistent with the cup part of the plastic spoons they will be served on. Note: if the cake mixture is too difficult to roll, try placing the bowl in the freezer for a few minutes first.
- Place the balls onto the prepared baking sheets, spaced evenly apart.
- Transfer the cake balls to the freezer and let them set, about 20 minutes.
- In a medium shallow bowl, add the white sugar crystals.
- In a medium microwave-safe bowl, add the white candy melts and melt, according to the package directions, being careful not to overheat.
- Dip one of the cake balls into the melted white candy coating and roll to evenly coat, then immediately dip the ball into the white sugar crystals and roll to evenly coat.
- Transfer the coated cake ball back to the wax paper on the prepared baking sheets and repeat the coating process with all of the remaining cake balls.
- Working one at a time, add a drop of the white candy coating to the cup area of each spoon and immediately top the coating with one of the coated cake balls, placing the assembled cake pops onto the clean wax-papered work surface.
- Once all of the cake pops are assembled, transfer the wax paper with the cake pops onto the baking sheet, removing and discarding the previously used wax paper.
- Transfer the pops to the freezer until set, about 2-5 minutes.
- Serve.
×